


Clients Table
- All Apps

- May 5, 2022
- 3 min read
Updated: Feb 13
This post contains three categories:
1.Overview, adding and editing clients
After importing your clients, they can be viewed in the Client Table. From here, you can edit client information and switch on additional services, which will schedule automated tasks.
New clients will be added to this table by clicking on ADD RECORD in the top right corner.
After you have added the client to DataGrows, you can post the client to Xero or Sage, if you make use of either system.

Once a client is added, their upcoming tasks will be scheduled immediately. Please make sure that every client has been assigned a status. Only Active and Dormant clients will generate tasks.
* If a task table is empty after the service has been switched on, it might mean that the due date is too far in the future or relies on a SARS due date that hasn't been released yet. These tasks will be scheduled at a later stage or once SARS releases the necessary dates, allowing enough time for staff to complete the task.
2.Post to Sage or Xero
To post a client to Sage or Xero, select the checkbox for that client in the Client table. Then go to Actions and select "Post client to Sage" or "Post client to Xero."

3.Sections & Columns Explained
There are several Sections when adding a client, the sections are clearly labelled and each contains various fields which you can fill in. When hovering over a field, a tooltip will appear, explaining the field.
Below is a list of a few important columns to note broken down per section:
Client Details
Status: This indicates if you are currently providing services to this client
Active: Clients will generate tasks.
Inactive: Clients will no longer generate tasks but will keep historical data.
Pending: Clients will not generate tasks. Used when onboarding a client. Dormant: Clients will generate tasks but be marked as dormant on these tasks.
Rate Group: Assign a rate group to each client based on their billing structure. To set up your rate groups, please follow the steps in this post.
Client Name: This is the name that will be displayed on all tasks and needs to be unique for each client.
Trading Name: Enter a trading name only if it differs from the client name.
Group: This column is used to distinguish clients that fall under the same group of companies. It is a text column so that it can be used for any internal grouping structure your firm uses.
Roles
This section allows users to assign staff to a client for specific tasks. This only relates to the specific client.
Partner/Manager: The person who needs to do the final sign-off on tasks.
Accountant: Any staff member assigned as an accountant will be responsible for all tasks for the client unless another role is selected. Other selected roles will replace the accountant for that specific client and task department.
Other roles include the following. This staff member will be assigned as the accountant to this client for all tasks under the corresponding category. Eg:
Accounting Role: This staff member will be assigned as the accountant to this client for all tasks under the Accounting group (grouping can be viewed in the left navigation in the app).

CIPC Role = Cipc Group.
Financials Role = Financials Group etc
Services
This section contains checkboxes for all the services provided to the client. Once checked, and saved, the tasks will start to populate for that client.

Some columns to take note of:
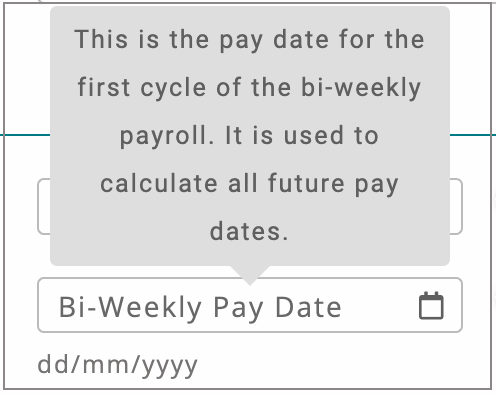
Bi-Weekly Pay Date: The Due Date will be scheduled for the closest Friday to your selected date
UIF: This is for clients who require uFiling, such as domestic workers.
Financials: This is a text column, so any custom note can be added
Document Folder: This is a way to indicate if documents for this client are stored on an external device/app.
Rating: Any internal rating system used by your firm
4. Navigating to tasks through the client table.
When you select an existing client or click Save&Edit on a new client, and expand the edit screen, you will see department tabs at the top of the table containing all the tasks.

Once you click on a tab, the tasks will show. Click on any task record to start working on it.

5. Client Summary and Work In Progress Report
To find out more about the Client Summary and Work In Progress Report, click on this link.


Comments